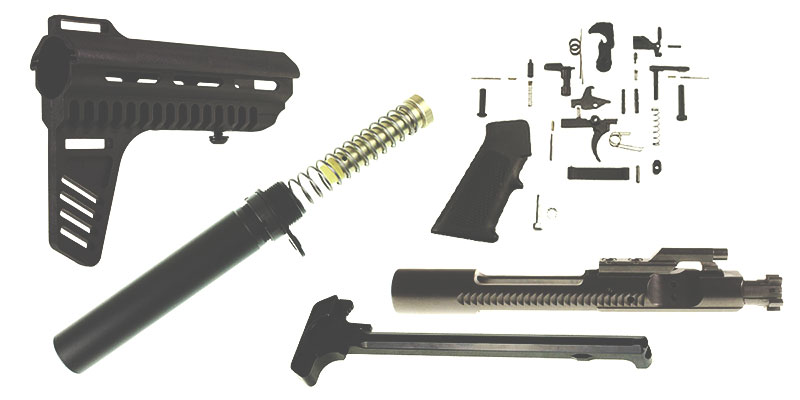
Building a lower parts kit is a great way to get all the necessary components for your AR-15Lower in one place. This can be especially helpful if you are piecing together a custom rifle or trying to upgrade existing components. While there are many different ways to go about this, we’ll walk you through the basic steps of assembling a lower parts kit.
The first thing you’ll need to do is gather all the necessary tools and materials. This includes an AR-15lower receiver, an M16 fire control group, a trigger guard, an LPK(lower parts kit), and detents (for the takedown pins). You will also need a set of roll pins, a punch tool, screws, and an Allen wrench.
Once you have all your materials, the next step is to install the fire control group. This is a relatively simple process, but if you’ve never done it before there are plenty of online tutorials and videos that can walk you through the steps. In general, you’ll just need to remove the old fire control group from the lower receiver (if there is one), and then install the new one in its place. Make sure that everything is properly aligned and secured before moving on to the next step.
Installing the trigger guard is a bit more complicated, but still relatively simple. First, you’ll need to remove the old trigger guard (if there is one) by punching out the roll pins that secure it in place. Once the old trigger guard is removed, you can install the new one by following the same process in reverse. Be sure to align everything properly before moving on.
The last step is to install the lower parts kit. This includes all the small parts and springs that go into the lower receiver and is generally the most difficult part of the process. If you’re not familiar with gun assembly, it might be a good idea to watch a few videos or consult with someone who is before attempting this step. Once everything is installed, you should have a fully functional AR-15 lower receiver!

